-
-
products
-
resources
-
support
-
company
-
Switching From Mac to PC – From Alias to Shortcut
By Steve Horton September 03, 2013alias, macos, shortcut, windowsNo CommentsAs a Mac user, you will probably be familiar with creating Aliases to quickly access frequently used files and programs. But how about when you transition to a Windows PC?
Windows makes extensive use of shortcuts, which work in the same way as the OS X aliases, to give the user quick access to specific files or programs directly from the Windows desktop or from the navigation pane of a window. This guide will get you started with managing shortcuts on your PC.
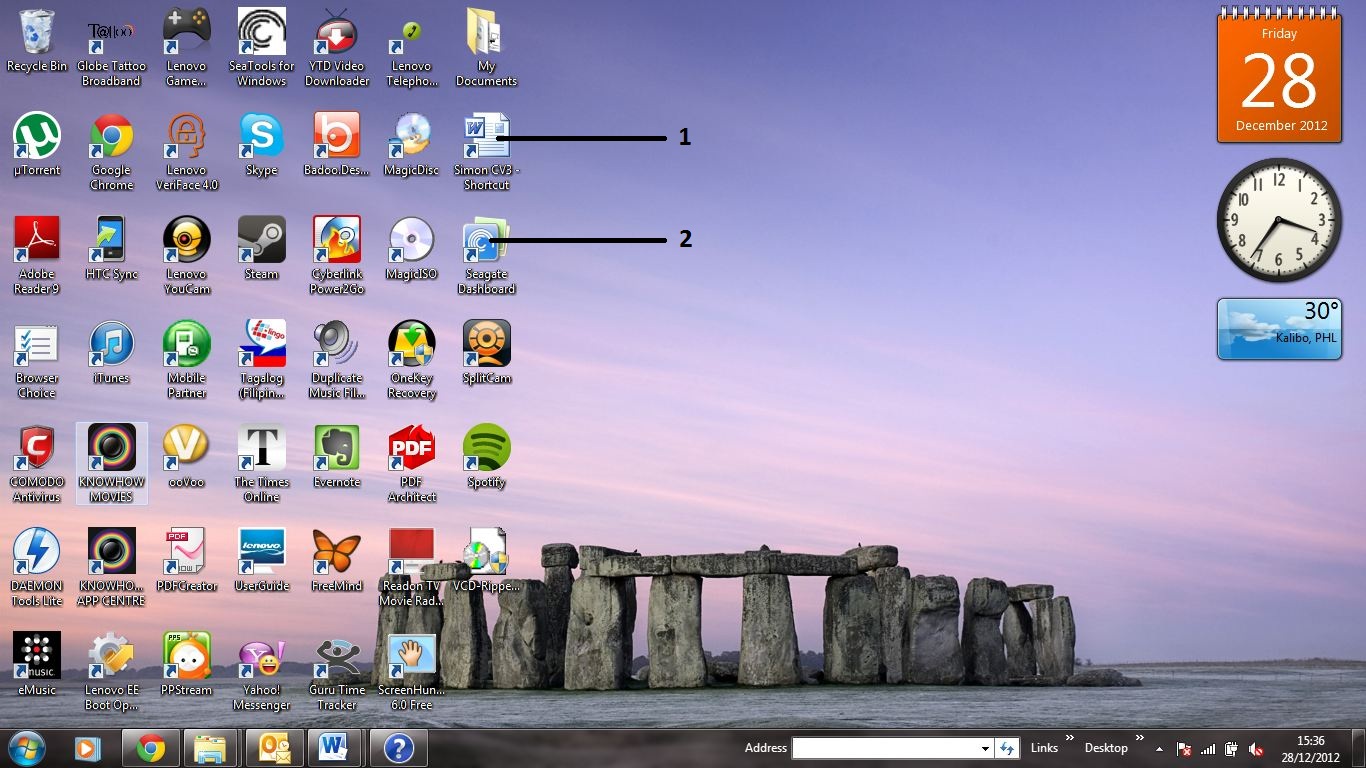
The image below shows how a shortcuts look for a program, folder and file respectively. Note that in all cases, a shortcut is identified by the arrow symbol within the icon. The first is a file shortcut, and the second is a program shortcut.

1. File shortcut; 2. Program shortcut.Creating a shortcut is very easy. First, navigate to the location of the file or program that you want as the subject of your shortcut. Right click on the file or program, and click Create Shortcut. You will then see the shortcut in the same window as the original item. The shortcut is identified by the arrow within the icon. Now drag the shortcut to the location you want.
If you are making a shortcut to a folder, you can also drag the shortcut to the favorites section of the left hand pane of your open window. The shortcut will then always be available as one of your favorites, so you can access it from the left hand pane of any open window. This is an alternative to having the shortcut on your desktop.
If you no longer want a particular shortcut, you can delete it by right clicking on it, then clicking Delete in the menu that appears. When you do this, there is no risk of deleting the original item. Only the shortcut is deleted.
Just like your old Mac Aliases, you can now get to your regularly used files and applications quickly and easily with Shortcuts.
Was this post helpful?YesNoHaving Problems With Your Mac?
Take a FREE scan to find out how you can clean up and revive your Mac.
download now
Didn't find your answer?Ask a question to our community of experts from around the world and receive an answer in no time at all.most relevant recent articles Pin It on Pinterest