-
5 Easy Steps to Speed Up Your Windows 10 Computer
By Chris July 01, 2019No TagsNo CommentsIs your computer slowing down? It happens to all of us.
Fortunately, if your PC runs on the Windows 10 operating system, there are some quick and easy fixes you can make to help bring your computer back up to speed.
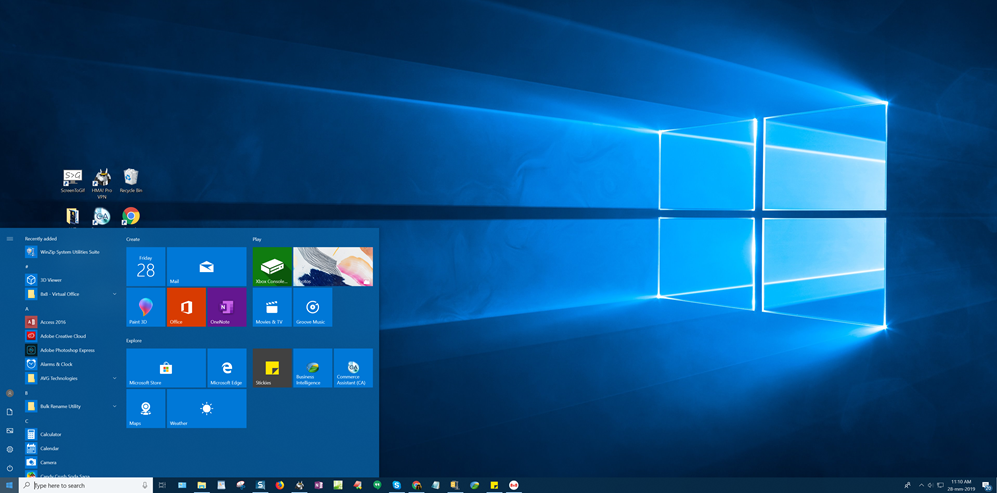
You’ll know you’re running Windows 10 if your Start menu looks like this:
In this post, we’ll walk you through a simple five-step process that may help keep your PC running smoothly. Let’s jump right in.
1. Disable Programs That Run At Start-up
You may notice your computer running slow as soon as you turn it on. This is often the case if you have a bunch of programs and processes that automatically run when you start your computer. The problem is, you might not even be aware that these programs are even switching on.
Many programs have settings that tell Windows to run their programs right after you log in, which can seriously bog down your system speed. You can check what programs are running at startup by following these steps:
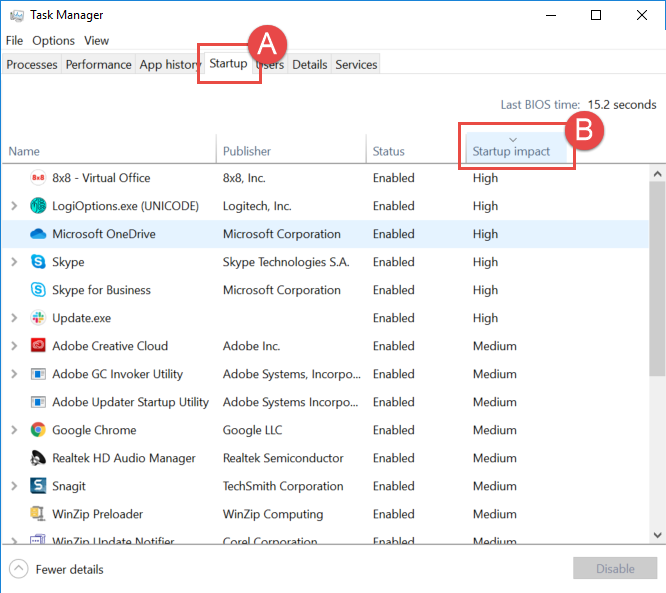
- Open Task Manager (Press Ctrl + Alt + Del then select Task Manager)
- Select More details
- Select the Startup tab (See figure “A”)
- Find the Startup Impact column next to each program (See figure “B”). Programs with a “High” startup impact may be slowing down your system.
- To prevent any program from launching on startup, right-click on the program and click Disable. Easy!
2. Use Storage Sense To Clean Out Your Hard Drive
Your computer may be running slow because it’s bloated with files you don’t need. But how do you find out if that’s the problem? Simple, Windows 10 has a handy built-in tool for just this purpose called Storage Sense.
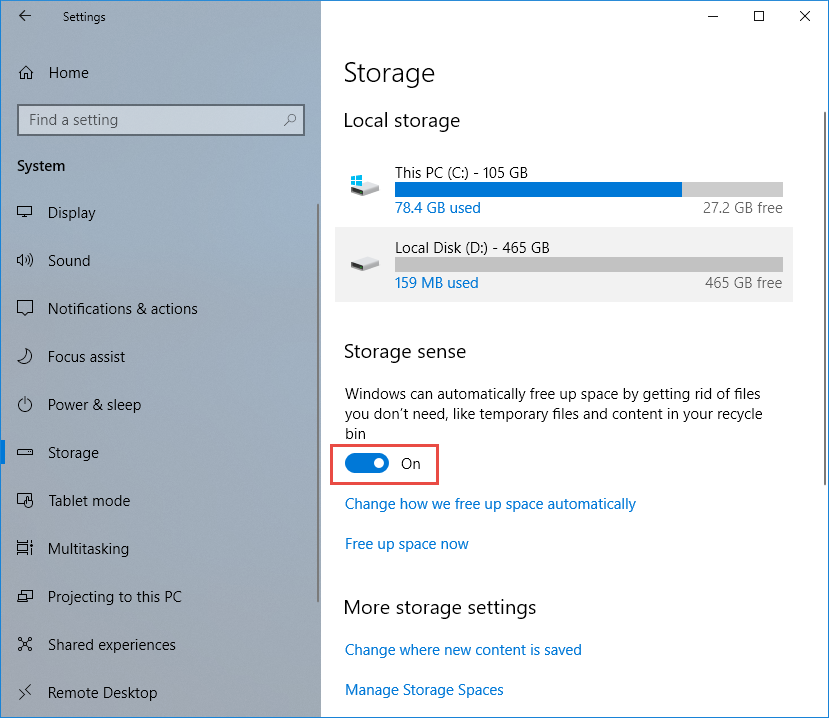
To find it, go to Settings > System > Storage and at the top of the screen in the Storage Sense section, switch it from “Off” to “On.”
Learn more about Storage Sense
Once you’ve turned on Storage Sense, Windows will constantly monitor your computer and delete junk files that you no longer need, such as temporary files, files in your Downloads folder that haven’t been changed in a month, and even old files in your Recycle Bin.
Storage Sense is also highly customizable, so you can set how often it deletes your files in each respective folder. For example, you can set Storage Sense to delete files in your Downloads folder each week, while you can set it to delete Recycle Bin files every month. Once you’ve chosen your settings, Storage Sense will automatically clear space at the chosen intervals.
You can also use Storage Sense to delete old versions of Windows. These old versions might be hogging space on your PC, which can cause it to slow down. Simply click “Delete previous versions of Windows” at the bottom of your Storage Sense screen and the program will automatically delete old versions of Windows 10 days after you’ve installed the upgrade. However, when you do this, you won’t be able to revert to the older version of Windows, so keep that in mind.
3. Turn Off Special Effects
Windows 10’s special effects make your experience a little prettier by adding fade in-fade out effects, transparency features, and animations. But they’re not necessary, and may actually slow down your computer. Here’s how to review your Special Effects:
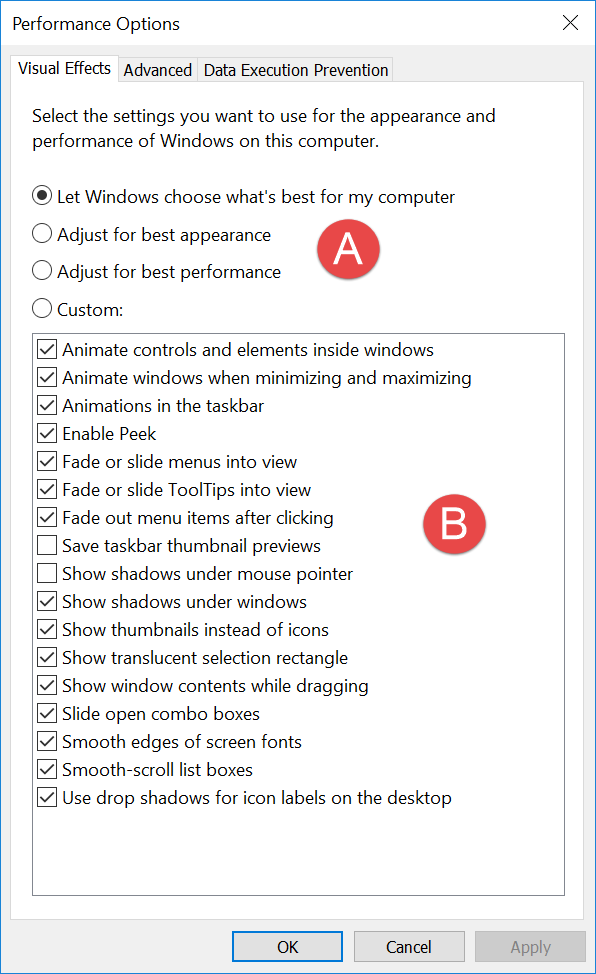
1. Open the Start menu
2. Type “View advanced system settings” in thesearch bar and click the search result of the same name
3. In the Advanced tab, find Performance and select Settings
4. In the Visual Effectstab, you can “Adjust for best performance” (figure A), or choose which effects you turn on and off (figure B)
5. Click Apply to put your changes into effect
4. Run Windows Troubleshooter
Windows 10 also has a troubleshooter which can help locate and fix performance problems.
Here’s how to launch it:
Open the Control Panel and select System and Security > Security and Maintenance > Troubleshooting > Run Maintenance Tasks. Once there, a “Troubleshoot and help prevent computer problems” message will appear. Click “Next.”
After you’ve taken these steps, the Windows troubleshooter will locate files and shortcuts that you don’t use, identify performance issues on your PC, report them back to you, and then fix them.
5. Restart Your PC
When in doubt, try a simple restart! Most of us leave our computers on for days, weeks, even months. Your Windows 10 operating system will automatically put your screen to sleep, but any programs or processes which were in use will continue to run in the background. Over time, this can accumulate and slow down your computer.
You can easily fix this problem by shutting down your PC every time you are finished using it. Or, just shut it down every few days, whatever is most convenient. Just remember to close any programs you are running or save anything you are working on before you do.
Still slow?
We hope these tips improve your computer’s performance, but you may need a little more elbow grease to get that “new PC” feeling back. We’ll share how our easy-to-use WinZip programs can give your computer the boost it needs.
Was this post helpful?YesNoFree Driver Updates
Update your drivers in less than 2 minutes to enjoy better PC performance - Free.
Free Driver Updates
Update your drivers in less than 2 minutes to enjoy better
PC performance - Free.
Didn't find your answer?Ask a question to our community of experts from around the world and receive an answer in no time at all.Pin It on Pinterest